11 minutes
Building this website - Part 2

In the second part to this multi-part series titled Building this website. I will start detailing the necessary steps to fulfil the requirements that I already set out in part 1.
I will be using the domain stuartlupton.com for the purposes of this demonstration. All examples will reference stuartlupton.com, simply replace this with your own domain.
Feel free to follow along, if you need any assistant reach out to me via the comments at the bottom of the post.
Pre-Requisites
There are a couple of pre-requisites needed, before we can make a start.
First, we need git installed locally, if you’re working from a Mac and have homebrew installed then the below command will get you a valid installation of git.
brew install git
Windows and Linux packages can be found here.
Secondly you will require an external domain and the necessary permissions to amend DNS records within that namespace. I have made the assumption that your domain is hosted in Route53, if this is not the case then the required steps in the DNS section will vary depending on your DNS provider.
Last of all you will need access to an AWS Account, most of what we will be building will either fall under the free tier or is ridiculously cheap!
Hugo installation
Hugo is a static site generator. The purpose of a static website generator is to render content into HTML files before the request for the content is made. Unlike systems that dynamically build a page with each visitor request, Hugo builds pages when you create or update your content.
In technical terms, Hugo takes a source directory of files and templates and uses these as input to create a complete website.
First, we need to install Hugo, their website has a fantastic getting started guide.
I use homebrew for package management on my Mac, so the below one-liner will take care of installing the Hugo package.
brew install hugo
The below command confirms installation was successful and will display the Hugo version you are running, at the time of writing v0.74.3 was the latest stable version for darwin/amd64.
hugo version
Build website content locally
Now we have Hugo installed we can start creating some content, which we can first test locally.
1. Create a new site
Using the Hugo cmdlet, we can create our base site structure using the command below (replace the domain for your own).
hugo new site stuartlupton.com
2. Add source control
It’s a good idea at this point to add source control to the site directory as we will soon store this in a central Git repository.
cd stuartlupton.com
git init
3. Choose a theme
Pre-made themes are extremely useful, you can adapt and tailor them to fit your requirements. For this example I will be using the Theme - hello-friend-ng by Djordje Atlialp
Feel free to browse the themes page for a template that is to your liking.
Once you have selected a theme then we need to add this as a git submodule.
git submodule add https://github.com/rhazdon/hugo-theme-hello-friend-ng.git themes/hello-friend-ng
Warning: If you use a different theme to the one in my example make sure you check the README for any additional steps that may be required.
4. Move config.toml & customize
The config.toml (could also be .yaml or .json depending on the theme you selected) is the main configuration file for your website.
First we need to move the config.toml from /example-site to override the default one at the root of our site structure. Run the below command from the root of your site structure.
cp themes/hello-friend-ng/exampleSite/config.toml .
For now we will make some minor amendments to the config.toml.
Open the file in your favourite text editor and amend the following, replacing the domain with your own.
baseURL = "https://stuartlupton.com"
Feel free to also amend any name and description fields at this stage.
5. Start the Hugo server
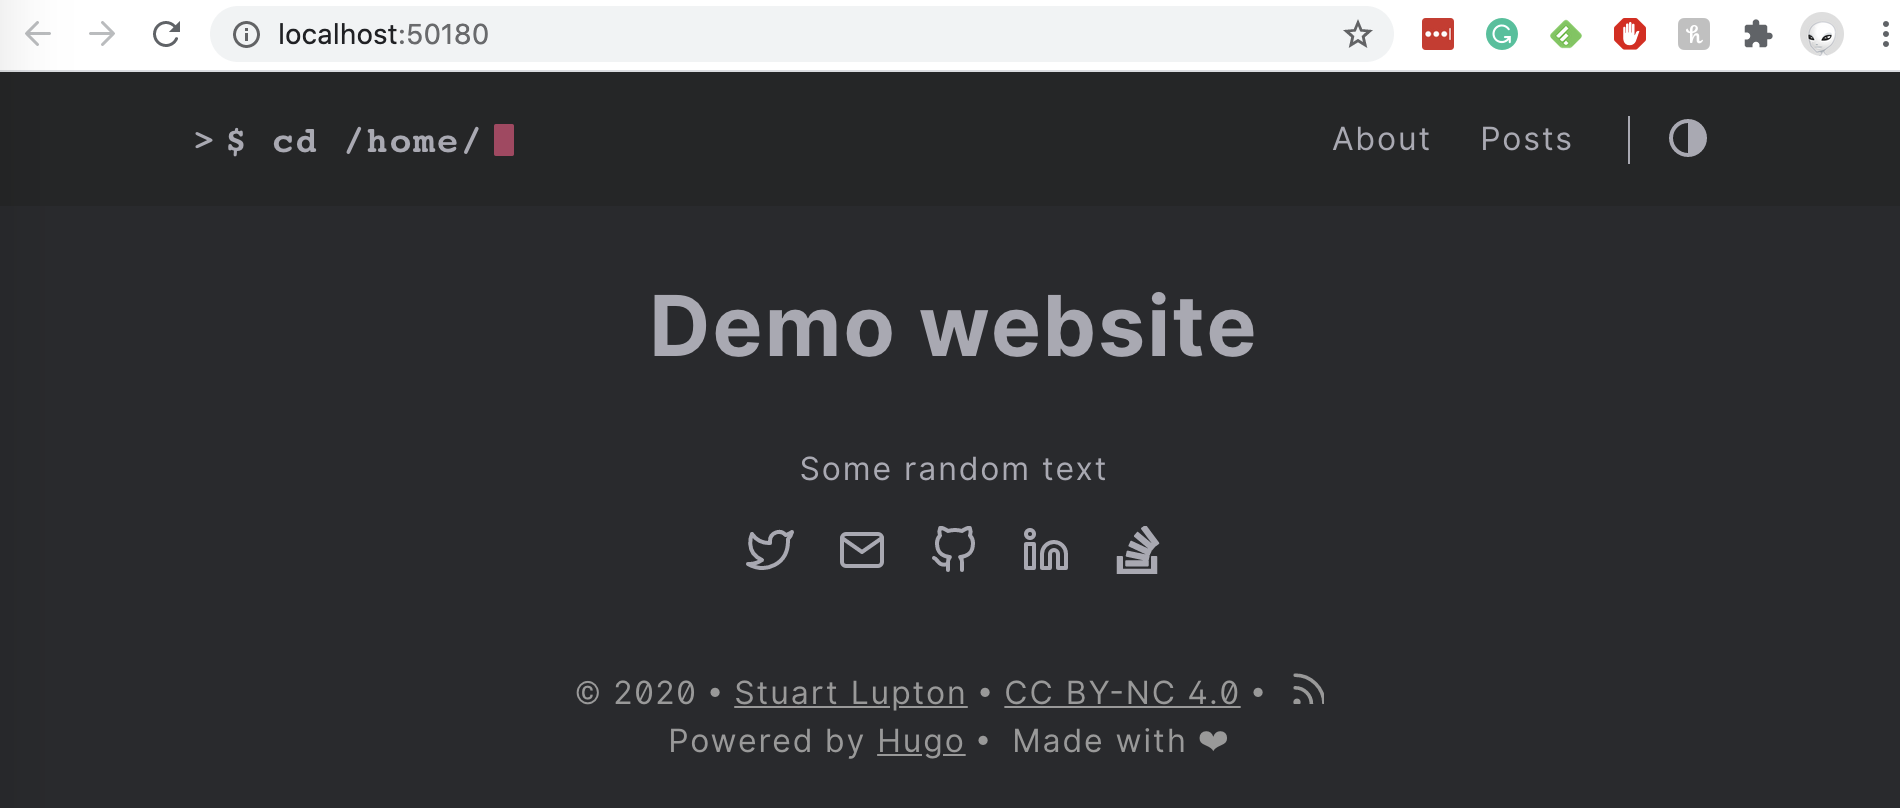
The below command will bootstrap your static site, so you can view it locally via http://localhost:1313/.
Note: The port may change if Hugo detects another service already listening on port 1313.
hugo server -D
Thanks to the fast render mode that is enabled by default when running hugo server -D all changes made to the website code are dynamically rendered and refreshed in your local browser.

6. Generate static files
This command will generate all your static content within the /public directory.
hugo server -D
You will notice after running this command that you now have a /public folder within your site directory. The files within are the static files that we will eventually upload to S3 to publish our website.
Host static content in AWS.
Now that we have the static content that forms the basis of our website, we need to host this somewhere so it is accessible to public internet.
Overview
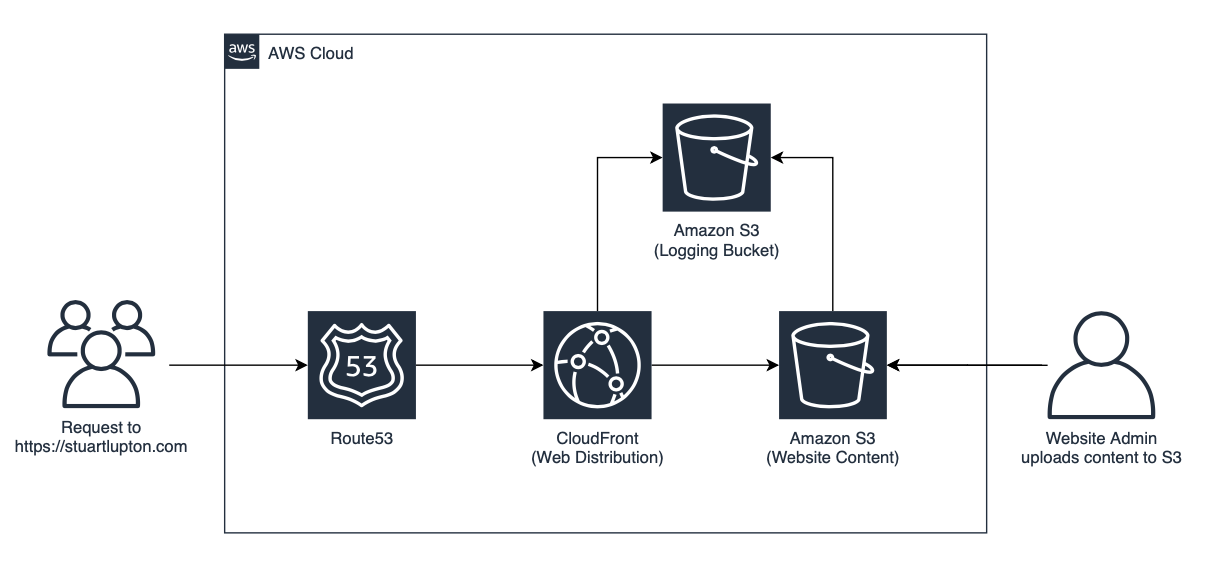
We will make use of three AWS services to host our content to the public. Before we get too deep, let’s recap on each service and how it will be used to achieve our goal.
S3 - Amazon Simple Storage Service (Amazon S3) is an object storage service that scales to meet your requirements. It offers 99.999999999% of data durability along with being performant and offering multiple layers of security to protect your data.
We will use a S3 bucket to securely store our static content, and a second S3 bucket for storing logs.
CloudFront - Amazon CloudFront is a fast content delivery network (CDN) service with which you can securely deliver data to your customers. CloudFront effectively caches your content in it’s many points of presence (PoPs) when an initial http request is made, subsequently the second request for the same content is then delivered from this cache providing your users with high data transfer speeds and low latency.
We will use CloudFront to deliver content stored in S3, In this case S3 is referred to as the CloudFront origin.
Route53 - Amazon Route 53 is a highly available and scalable cloud Domain Name System (DNS) web service.
We will use Route53 to route end users to our content hosted on CloudFront.
Pre-Requisites
1. Sign up for an AWS Account
If you don’t already have one you can sign up here for an AWS Account.
Amazon S3
Now it’s time for us to create our S3 buckets.
1. Logging bucket creation
Go to https://console.aws.amazon.com/s3/ and chose Create bucket.
Enter a Bucket name and Region, the bucket name should be <yourdomain-logs>.
Example: stuartlupton.com-logs
Under Permissions, then Access Control List select Grant S3 log delivery group write objects access to this bucket.
Finally, click on the bucket and select Overview, then select Create folder, and name the folder cloudfront/. This will be the location of log files from Amazon CloudFront.
2. Website bucket creation
Go to https://console.aws.amazon.com/s3/ and chose Create bucket.
Enter a Bucket name and Region, the bucket name should be <yourdomain>.
Example: stuartlupton.com
Under Server access logging, select Enable logging then choose the S3 bucket for log files you just created for the Target bucket and cloudfront/ for the Target prefix.
Once the bucket is created, click on the bucket, select Properties, then Static website hosting, then Use this bucket to host a website, enter index.html and 404.html for the Index document and Error document respectively.
Take note of the endpoint URL - we will use this when configuring the CloudFront distribution.
When you configure a bucket as a website, you must make the objects that you want to serve publicly readable. To do this, you write a bucket policy that grants everyone the s3:GetObject permission.
To do this, click on the bucket, select Permissions, then Bucket Policy, then paste the following changing the bucket name to match yours:
{
  "Version": "2012-10-17",
  "Statement": [
    {
      "Sid": "PublicReadGetObject",
      "Effect": "Allow",
      "Principal": "*",
      "Action": [
        "s3:GetObject"
      ],
      "Resource": [
        "arn:aws:s3:::stuartlupton.com/*"
      ]
    }
  ]
}
3. Upload static content
Now we can upload the static content that we previously generated. If you have updated either the config.toml or other elements of your website then you should re-generate the static files again using the below command from the root directory of your website.
hugo
Then we can copy these files to our website bucket.
Navigate to your Website bucket named <yourdomain> then upload all files to the /public directory.
If at this point you decide to try and access the content via the S3 endpoint http://<yourdomain>.s3-website.<region>.amazonaws.com/ you will notice that your CSS content fails to load and your left with just some basic HTML.
This is because the BaseURL in your config.toml is not configured for the S3 URL. Do not worry this will not be a problem once we are fronted by CloudFront.
Amazon CloudFront
Next we will configure a CloudFront distribution to serve content from our S3 bucket (referred to as the CloudFront origin.)
1. Generate a SSL/TLS Certificate
We need a SSL certificate to be able to serve our content over HTTPS, we also need to ensure that our domain name is added to the certificate as we will be accessing the site using the domain name, in my case stuartlupton.com.
Warning: You must be in region us-east-1 in order to successfully use SSL/TLS certificates. Change your region in the AWS Management Console by selecting US East (N. Virginia) from the drop down in the upper right corner. If you select a different region then this certificate will not be available within CloudFront.
Go to https://console.aws.amazon.com/acm.
Click Get started. under Provision certificates.
Select Request a public certificate.
Add your domain name including www.
Example: stuartlupton.com & www.stuartlupton.com.
Choose DNS or Email validation.
Add any tags you require.
Finally, Review and Validate.
Validation steps for the certificate will depend on the validation option you selected. I selected DNS as I did not have email setup for the stuartlupton.com domain at the time of writing this blog.
If you host your domain in Route53 there is a handy link to add the required CNAME files to your DNS zone, otherwise login to your DNS provider and make the changes manually.
Once the certificate is issued you should see something like this.

2. Create CloudFront Distribution.
Go to https://console.aws.amazon.com/cloudfront.
Click Create Distribution.
In the Select a delivery method for your content section, choose Get Started under Web.
Configure as per the below table, leaving the rest with their default values, again replacing the domain & region for your own.
| Origin Settings | |
|---|---|
| Origin Domain Name | stuartlupton.com.s3-website.eu-west-2.amazonaws.com |
| Origin ID | S3-website-bucket |
| Origin Protocol Policy | HTTPS Only |
| Default Cache Behaviour | |
|---|---|
| Viewer Protocol Policy | Redirect HTTP to HTTPS |
| Distribution Settings | |
|---|---|
| Alternative Domain Names (CNAMEs) | «domain» «www.domain» |
| SSL Certificate | Custom certificate that we created earlier |
| Default Root Object | index.html |
| Logging | On |
| Bucket for Logs | «domain-logs» |
| Log Prefix | cloudfront/ |
Route53
In the last step for part 2, we will configure Route53 to forward traffic for stuartlupton.com to our CloudFront web distribution.
1. Register your domain name
If your domain is already hosted in Route53 you can skip this step.
Go to https://console.aws.amazon.com/route53.
Choose Registered domains in the navigation pane, then Register Domain.
Enter your domain and select the appropriate Top-level Domain (TLD), then select Check.
If the domain is available, select Add to cart, then Continue.
Enter the registrant contact information, then Continue.
Check the box for I have read and agree to the AWS Domain Name Registration Agreement, then Complete Purchase.
2. Create DNS records
Navigate to https://console.aws.amazon.com/route53.
Choose Hosted zones in the navigation pane.
Note: If you registered your domain with Amazon, a hosted zone will have been automatically created with the name of your domain. A hosted zone contains information about how you want Route 53 to route traffic for the domain.
Choose the hosted zone for your domain.
Click Go to Record Sets.
Click Create Record Set.
Specify the following values (see below).
| Name | - |
| Type | A - IPv4 address |
| Alias | Yes |
| Alias Target | CloudFront Distribution |
| Routing Policy | Simple |
| Evaluate Target Health | No |
Repeat these steps for the www. subdomain.
| Name | www |
| Type | A - IPv4 address |
| Alias | Yes |
| Alias Target | CloudFront Distribution |
| Routing Policy | Simple |
| Evaluate Target Health | No |
Summary
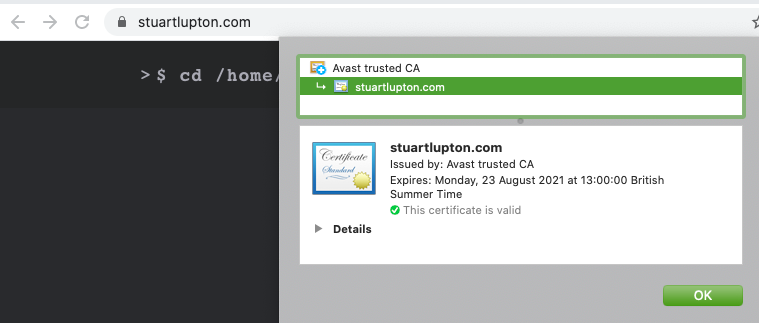
At this point you should be able to browse to your website via "https://<yourdomain>.com". The connection should be encrypted over HTTPS using the certificate we linked to the CloudFront distribution.

If you still have issues rendering the CSS content then double check that the baseURL within the config.toml is configured to "https://<yourdomain<>.com".
Note: There will be a delay from the time you update your content and when the CloudFront cache expires, to manually work around this you can do the following.
Navigate to https://console.aws.amazon.com/cloudfront.
Select your distribution, then click Distribution Settings.
Open the Invalidations tab then click Create Invalidation
Enter /* then click Invalidate
Once this has finished running your content should have refreshed.
We have covered some ground in this post, however we still have a way to go.
Watch out for part 3 where I will cover the following:
- Automate the Hugo build via a pipeline.
- Enable commenting for the blog pages.
- Enable Google Analytics.
- Fix having to wait/manually Invalidate content in CloudFront when new content is added.
Hope to see you there!
If you have found this post useful, please upvote below or comment :)