5 minutes
AWS SSO using Azure Identity
I, like many of the customers I work with, use Azure AD as my central identity service. I also have a handful of AWS, Azure and GCP accounts which I use for various projects/environments.
One thing I have grown to dislike over the last 15 or so years, is having to remember usernames and passwords. Sure, password managers are great - I use LastPass and KeePass daily, however being able to use one identity for many products is not only convenient, but also can improve your identity security posture by adding MFA to app that don’t natively support it for example.
In this post, I will be linking my Azure Identity to an AWS organization using making use of AWS Single Sign-On.
Pre-requisites
We need the following items to get started:
- An AWS Account.
- An Azure AD Subscription.
I will be making an assumption that you are already a user of AWS and Azure AD.
Step 1 - Create Enterprise Application
First, We need to sign-in to our Azure account via the Azure Portal and then navigate to the Azure Active Directory dashboard. From the left-hand navigation panel, select Enterprise Applications.
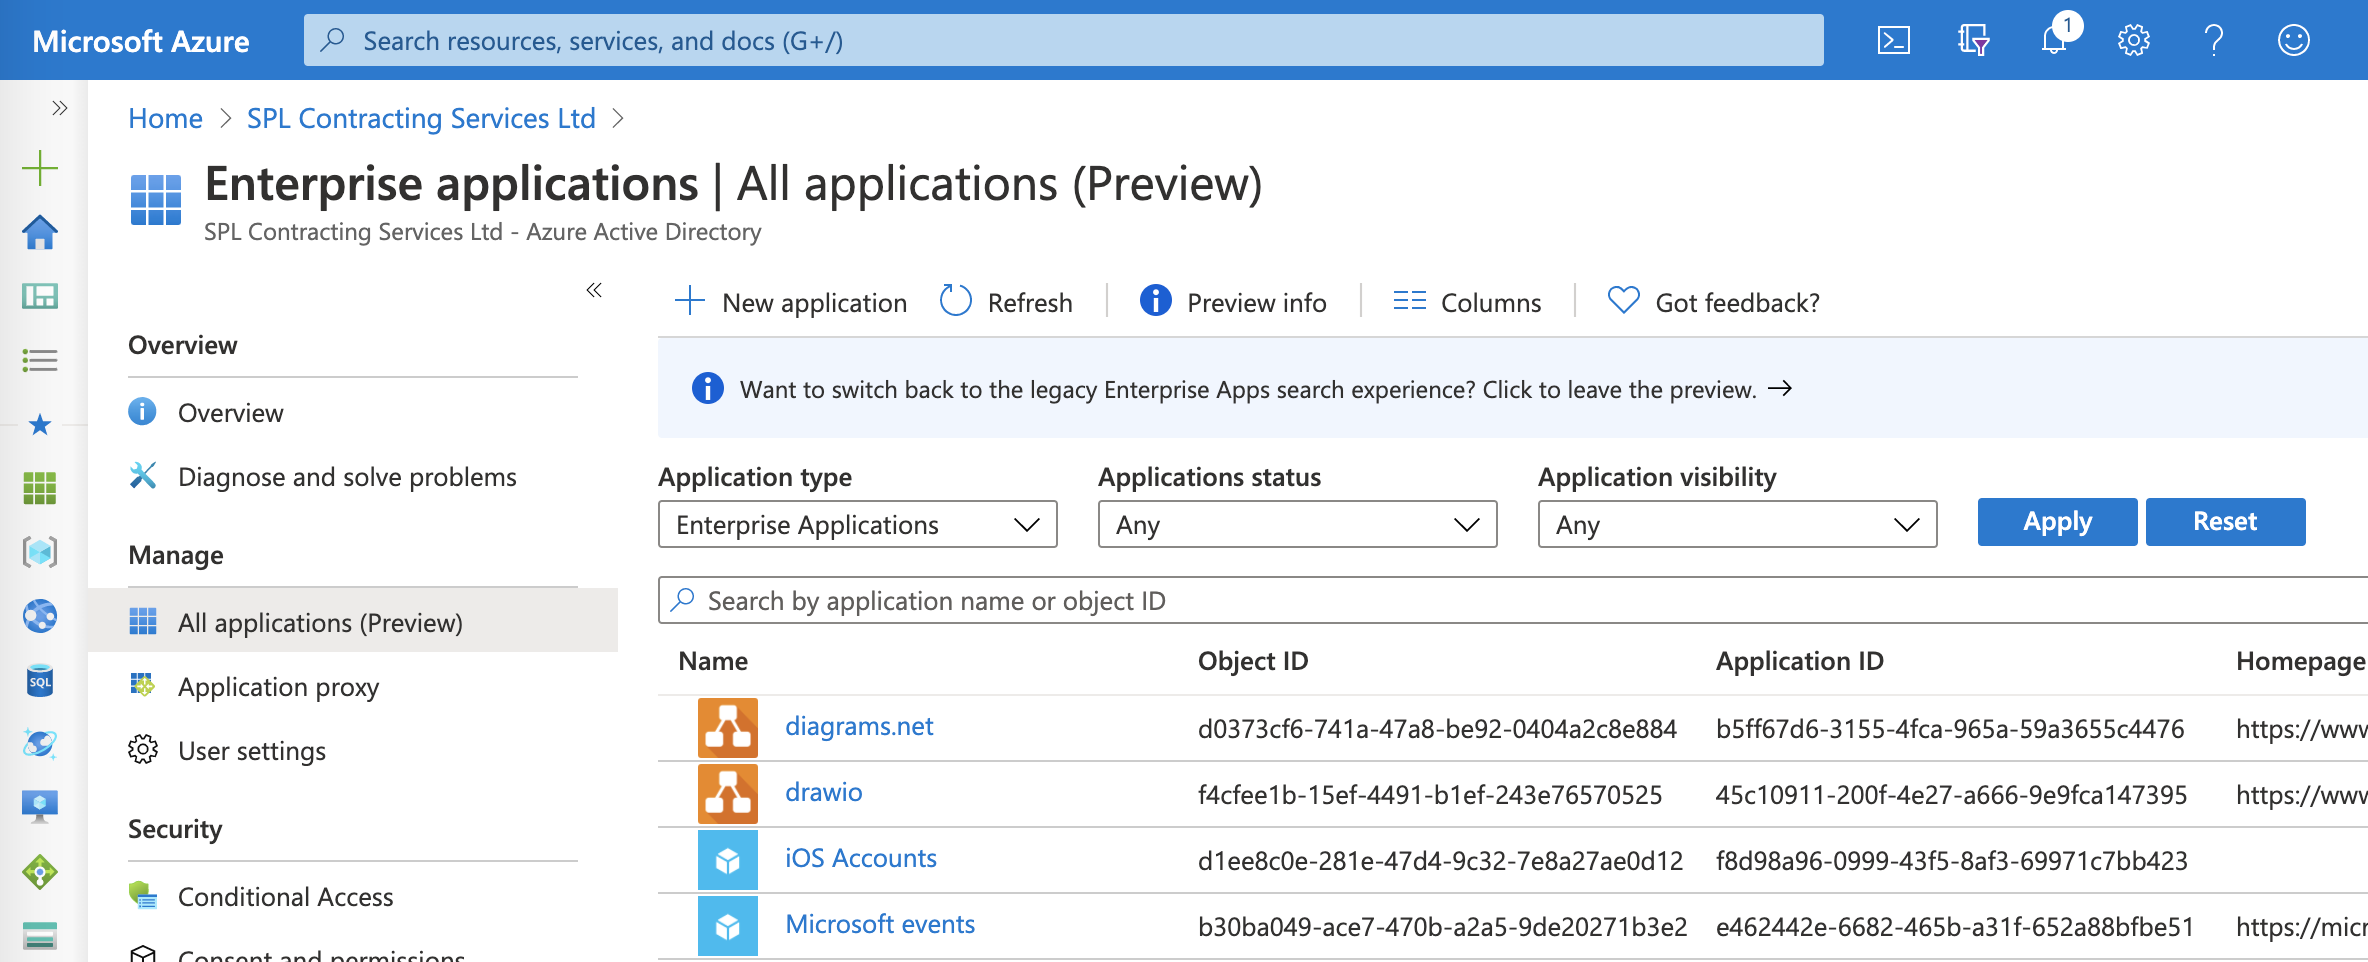
The next step is to create a new application. Click New application, then select Non-gallery application.
In the Add an application window that opens, enter a Name in the Name field, then click Add.
Once the application is created, you will be taken back to the application overview.
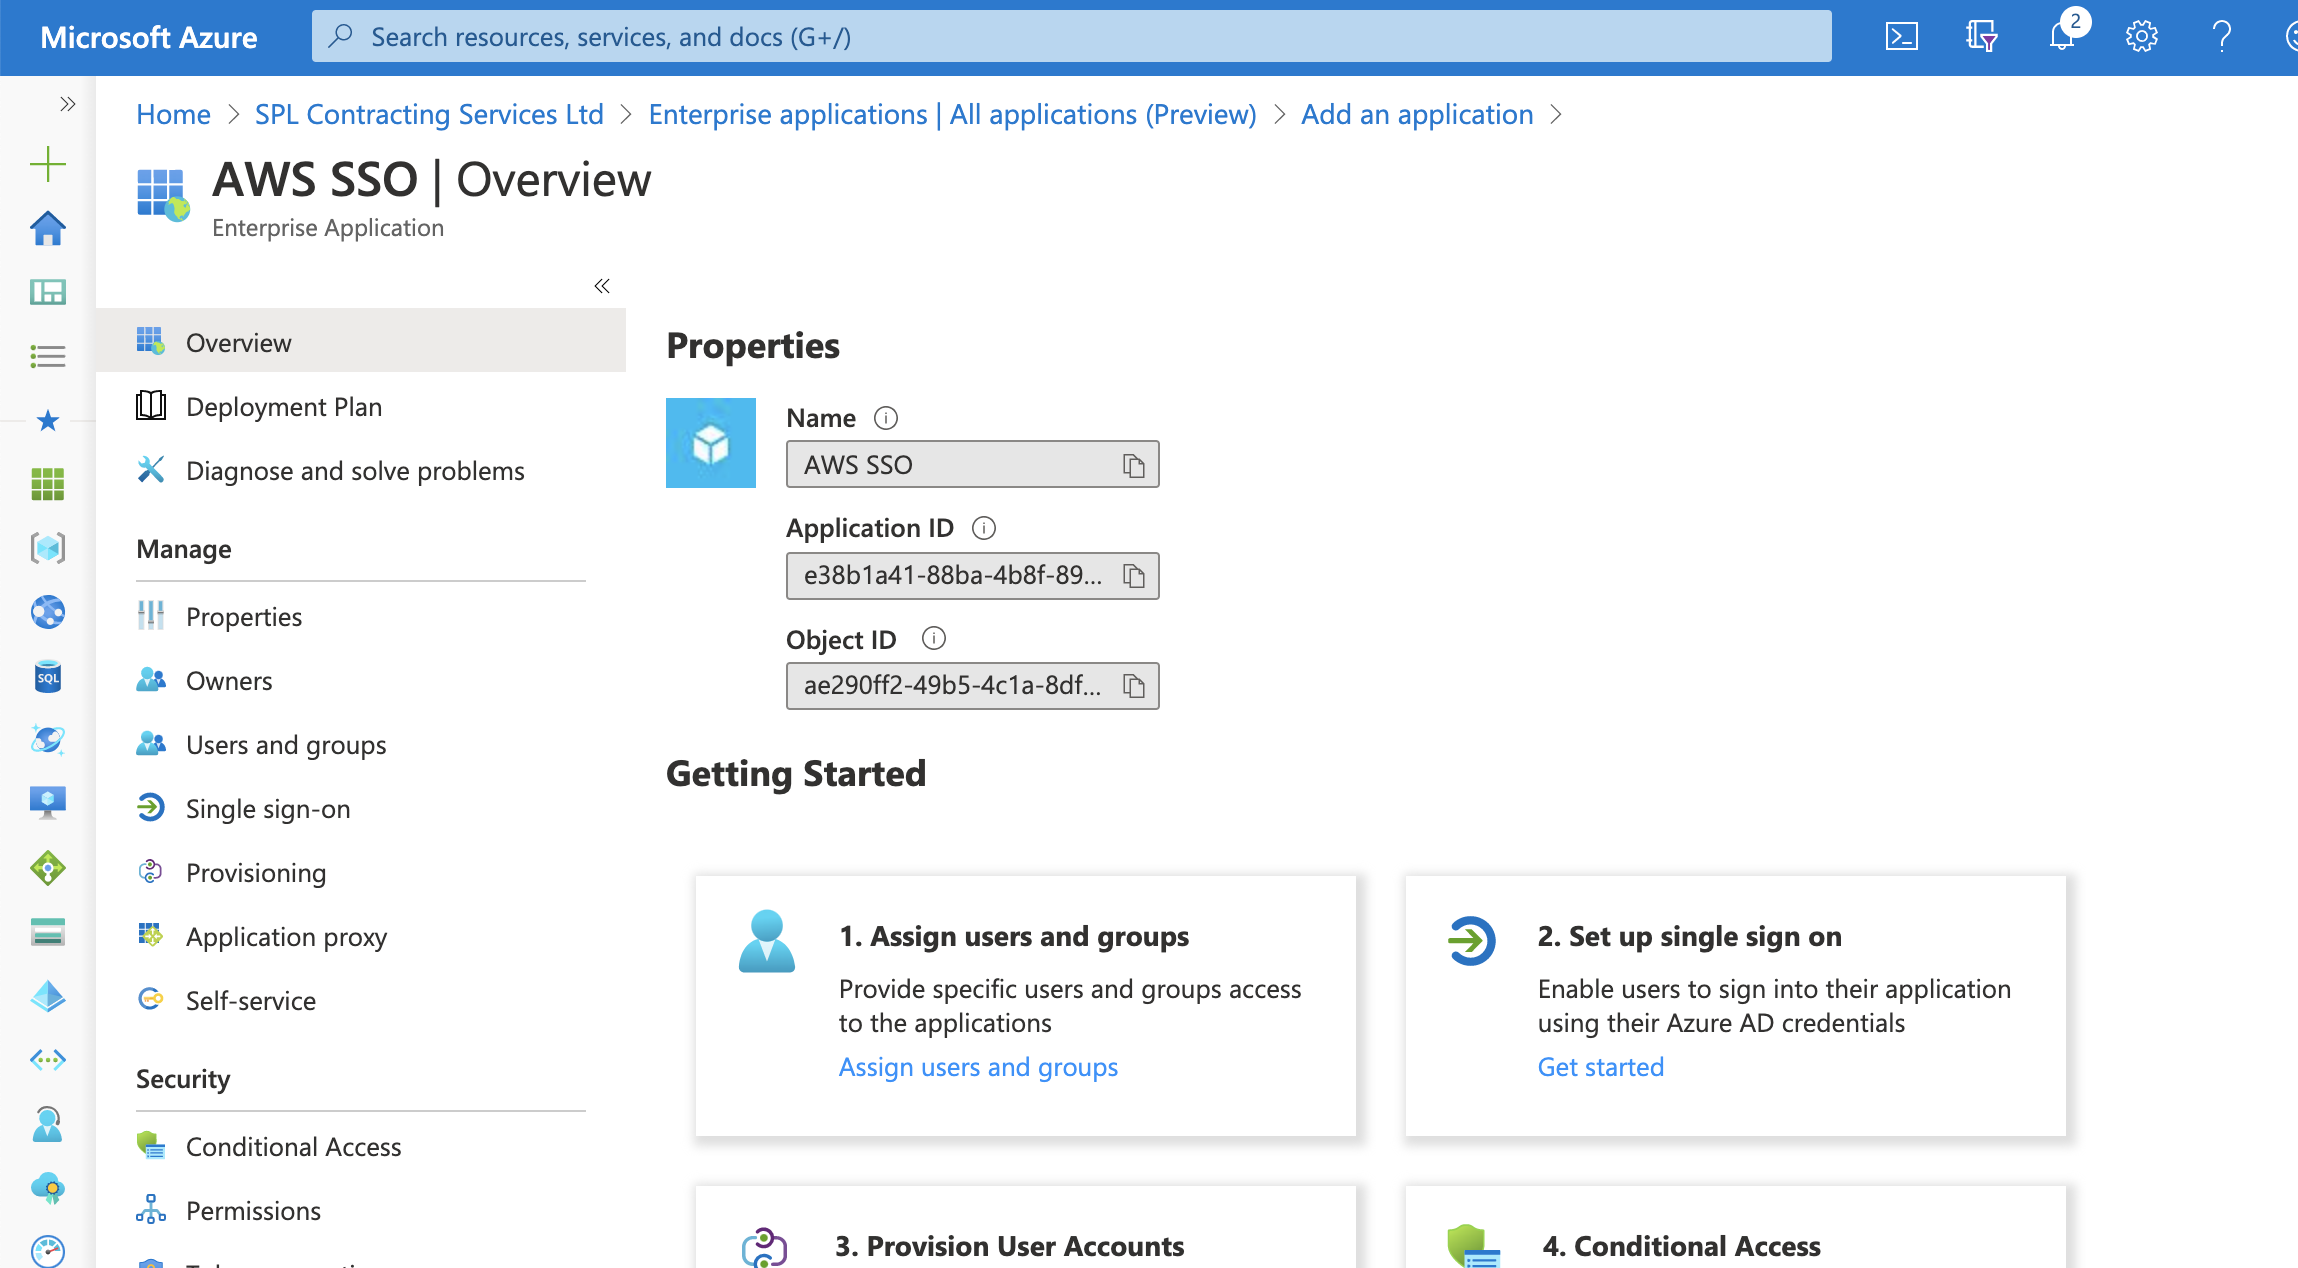
This is where we configure the settings to enable single sign-on and exchange federation metadata between Azure AD and AWS Single Sign-On.
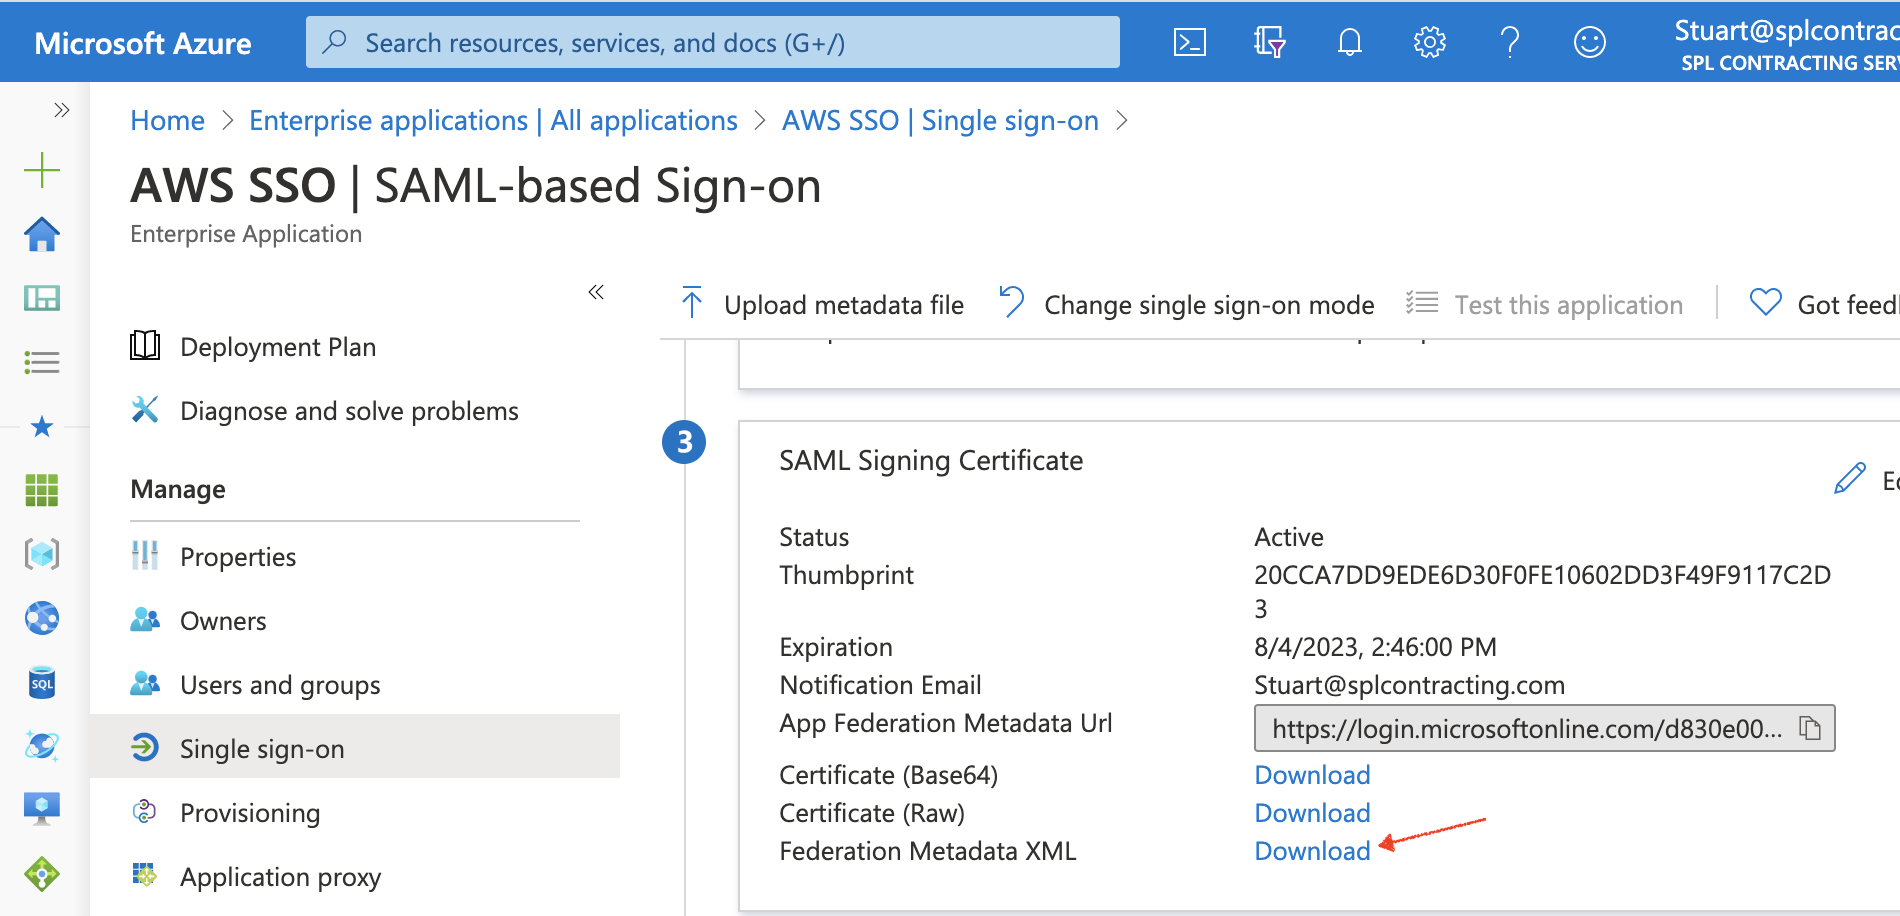
Before we go onto configuring the AWS elements, we need to grab the Federation Metadata XML file as this will be needed in the next steps.
Select Single sign-on from the navigation panel on the left and then click the SAML option.
Finally scroll down to 3. SAML Signing Certificate and download the Federation Metadata XML document.
Step 2 - Enable AWS Single Sign-On (SSO)
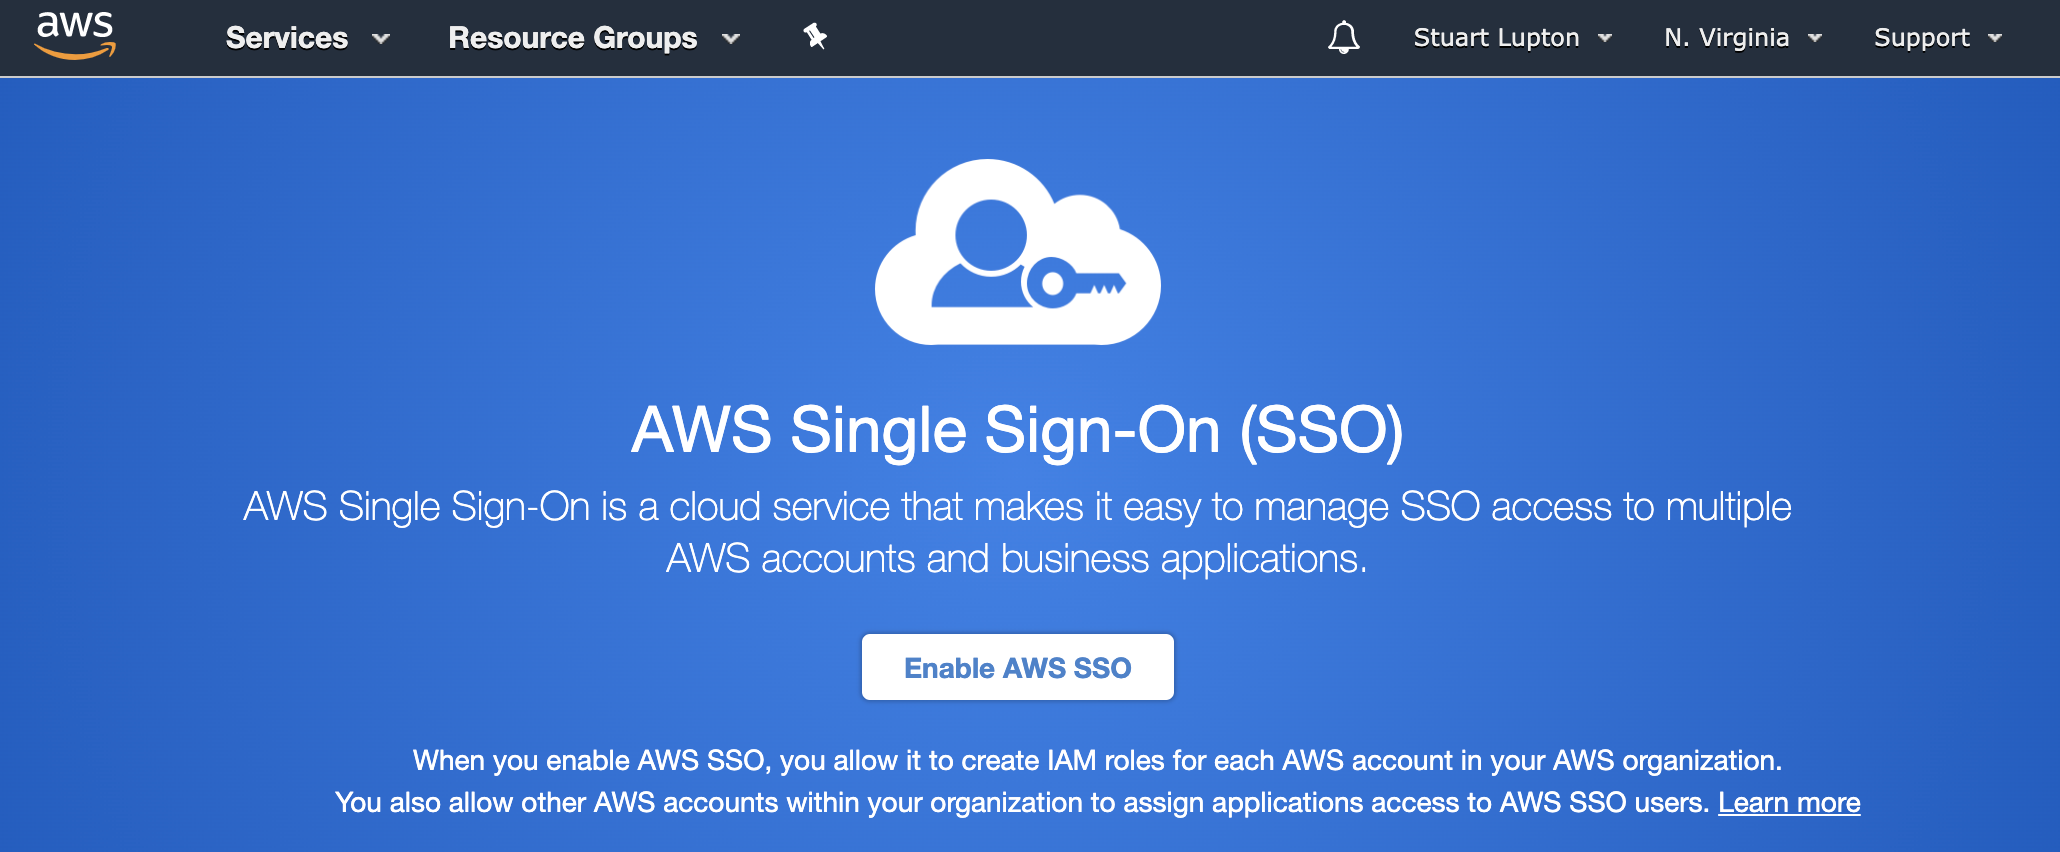
Open a new browser tab and navigate to the AWS Single Sign-on console, sign-in with your aws user credentials.
Simply click Enable AWS SSO, this can take up to 30 seconds.
Once SSO is enabled, click Settings in the navigation panel on the left. Then under the heading Identity source click the Change link which lies next to the Identity source option. We need to set this to External Identity Provider.
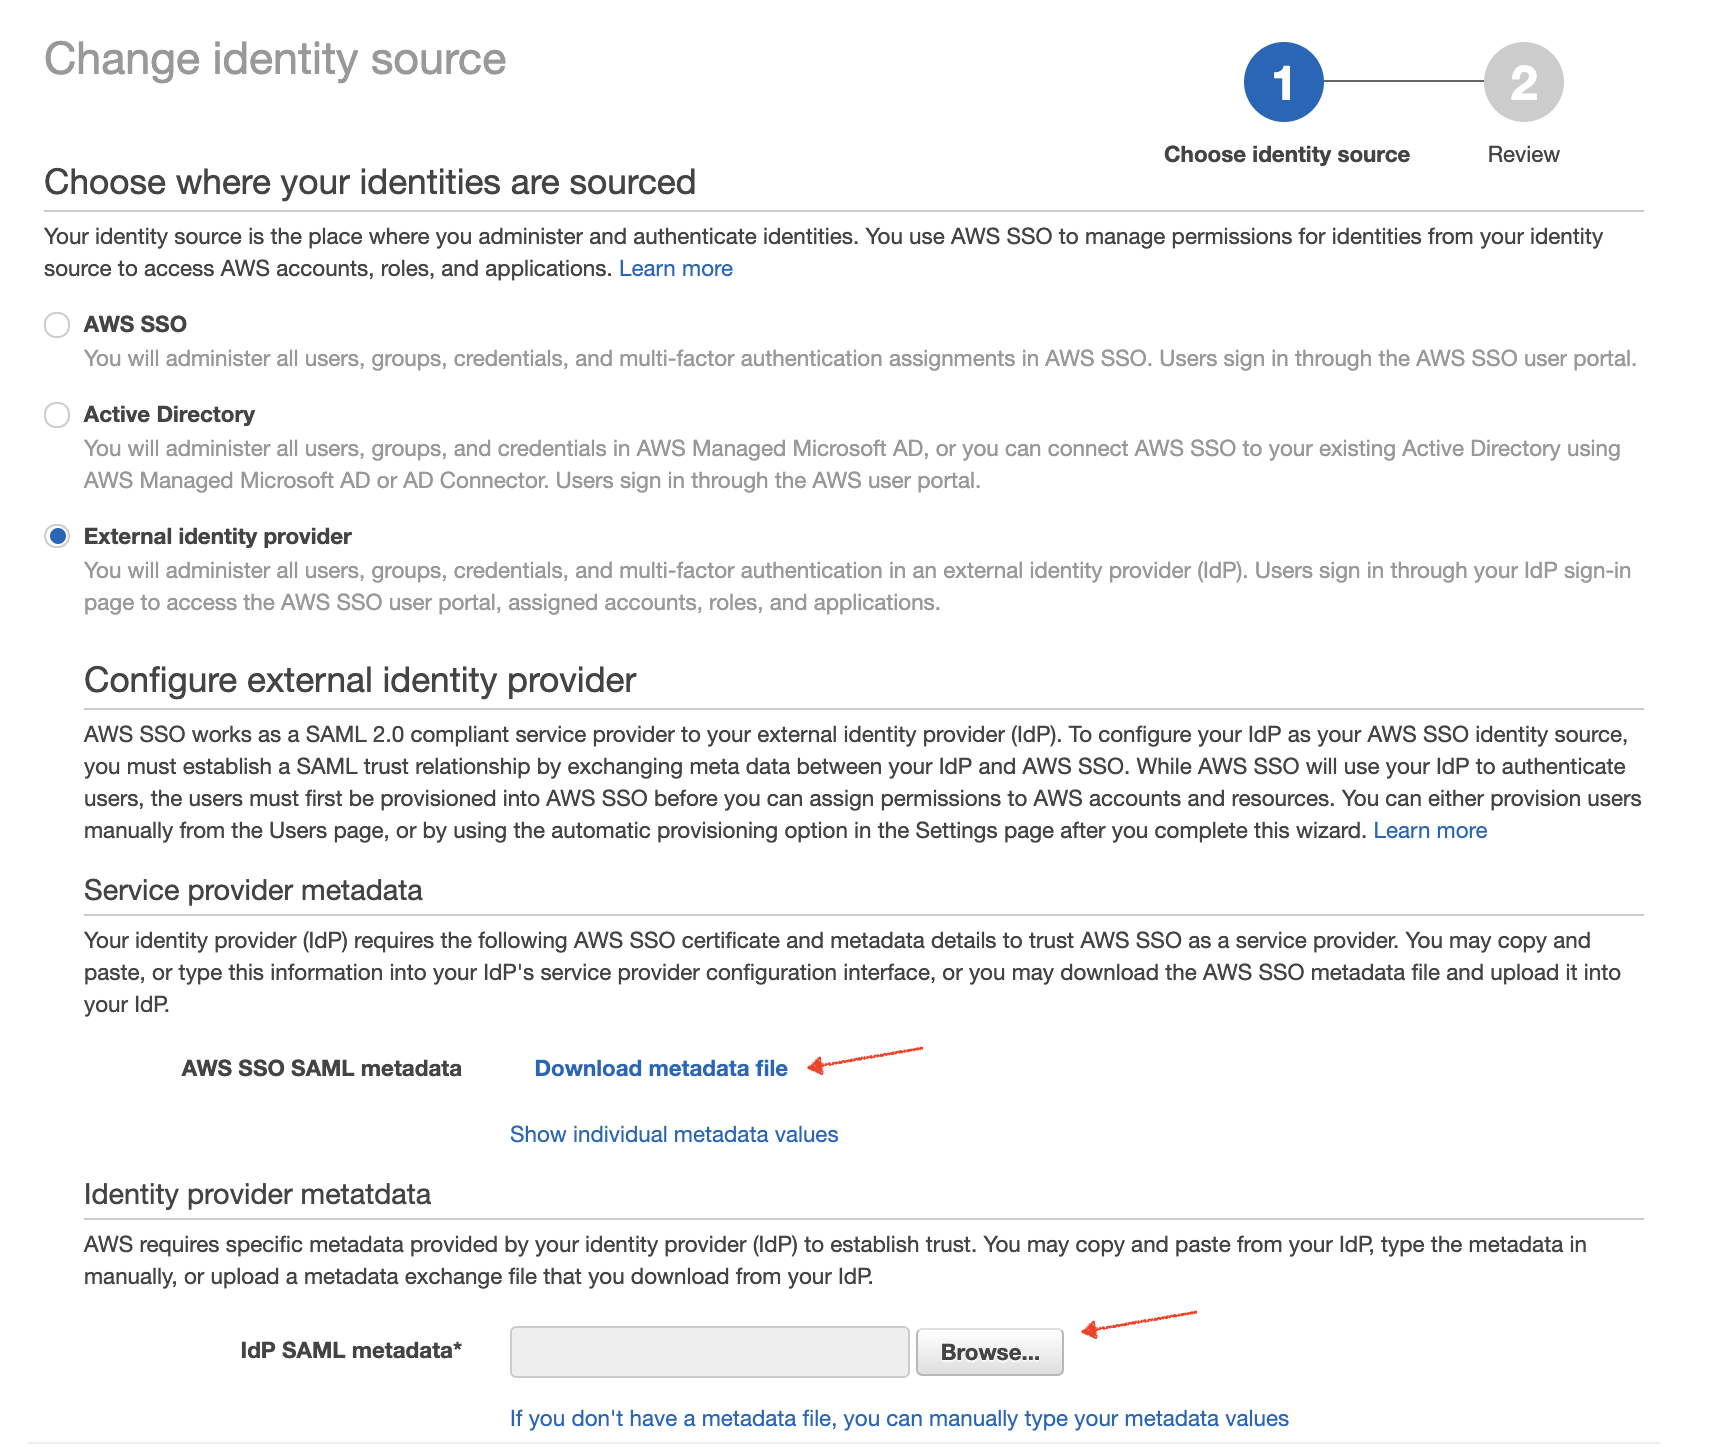
From this page we need to download the AWS SSO SAML metadata, we will need this back in the Azure Portal shortly. We also need to upload the Azure Identity provider metadata that we downloaded in step 2, click Browse under the Idp SAML Metadata option and select the XML file that we downloaded from Azure.
If anyone spots the spelling mistake in the above AWS configuration page, let me know in the comments ;).
Finally, click Next, and then type CONFIRM on the review page then Change identity source to save changes.
Step 3 - Complete Azure Enterprise Application Configuration
Go back to your tab that we left open on the Azure AD - Set up Single Sign-On with SAML settings page.
Click the Upload metadata file button at the top of the page and then browse to the file we downloaded from the AWS SSO SAML metadata link.
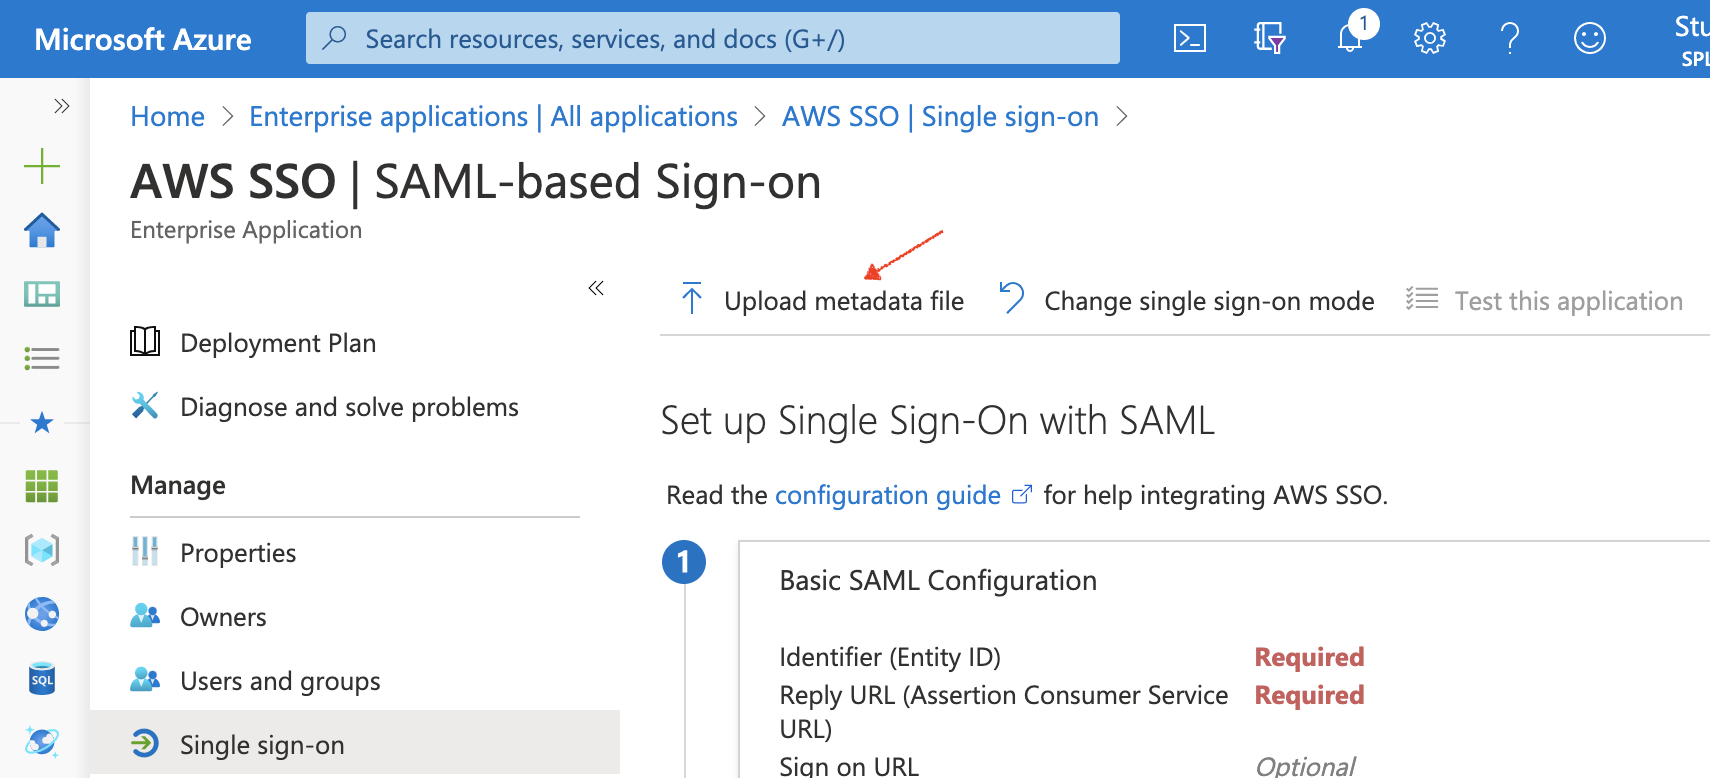
Click Save on the Basic SAML Configuration pop-out window, we can leave all the defaults as-is.
Step 4 - Create an AWS SSO User
Let’s create a user in AWS SSO, so we can test the configuration works as expected.
In Azure AD we have a user called Dave, you can try this with a test user like I am or your own user account.
Let’s give Dave access to the AWS Application.
Navigate to the Azure Active Directory dashboard in the Azure Portal then from the left-hand navigation panel select Enterprise Applications, select your AWS SSO application and then Users and groups. We can grant Dave access by clicking + Add user and select Dave.
Note: Its best practice here to not explicitly assign users to resources, access should be managed via Group membership
Now let’s make sure Dave has a user in AWS SSO.
Open a new tab and navigate to the AWS Single Sign-on console. Click Users and then Add user.
Fill in mandatory fields, the username must match the username in Azure AD.
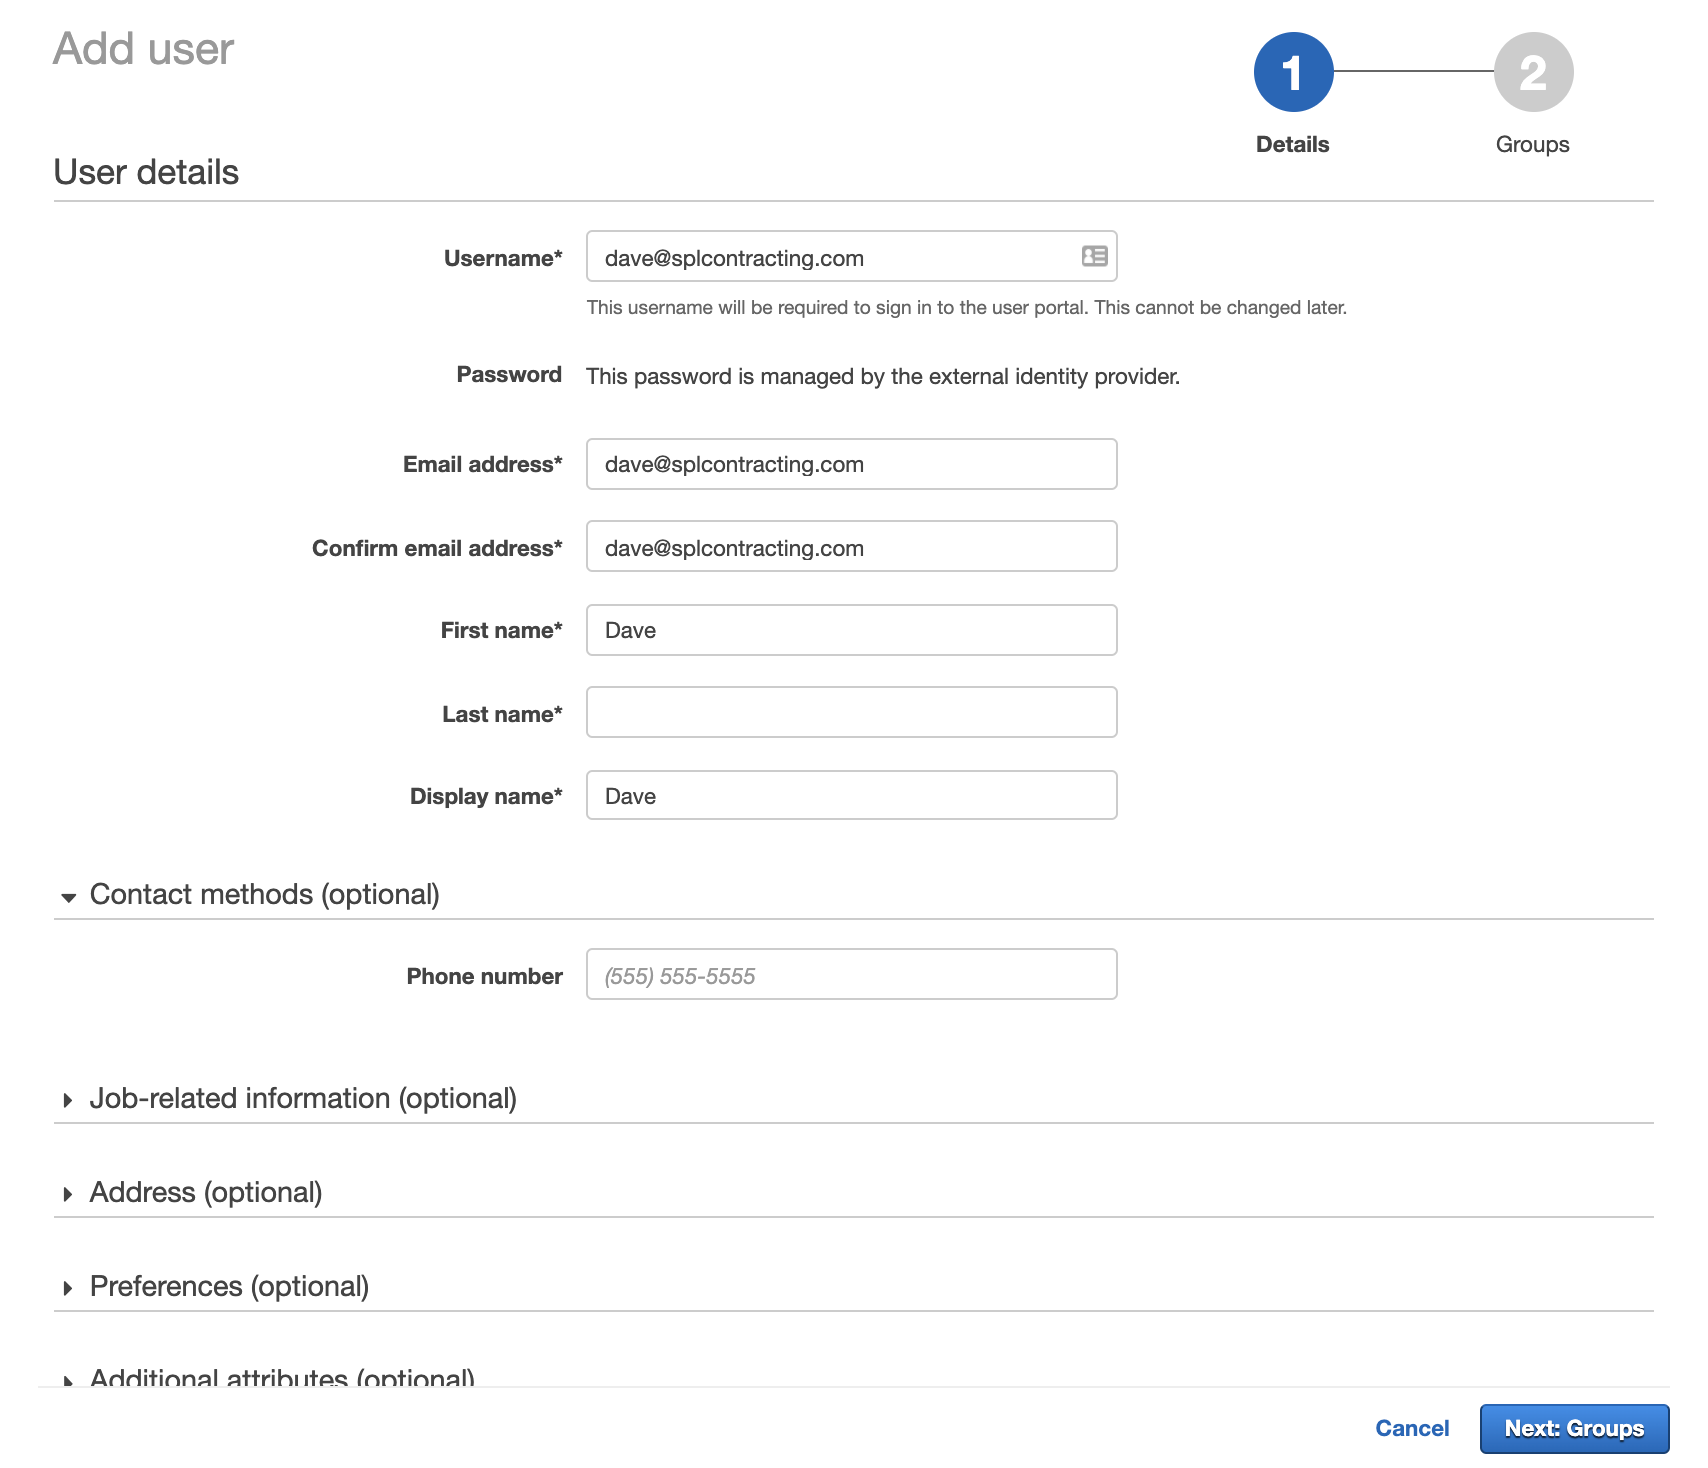
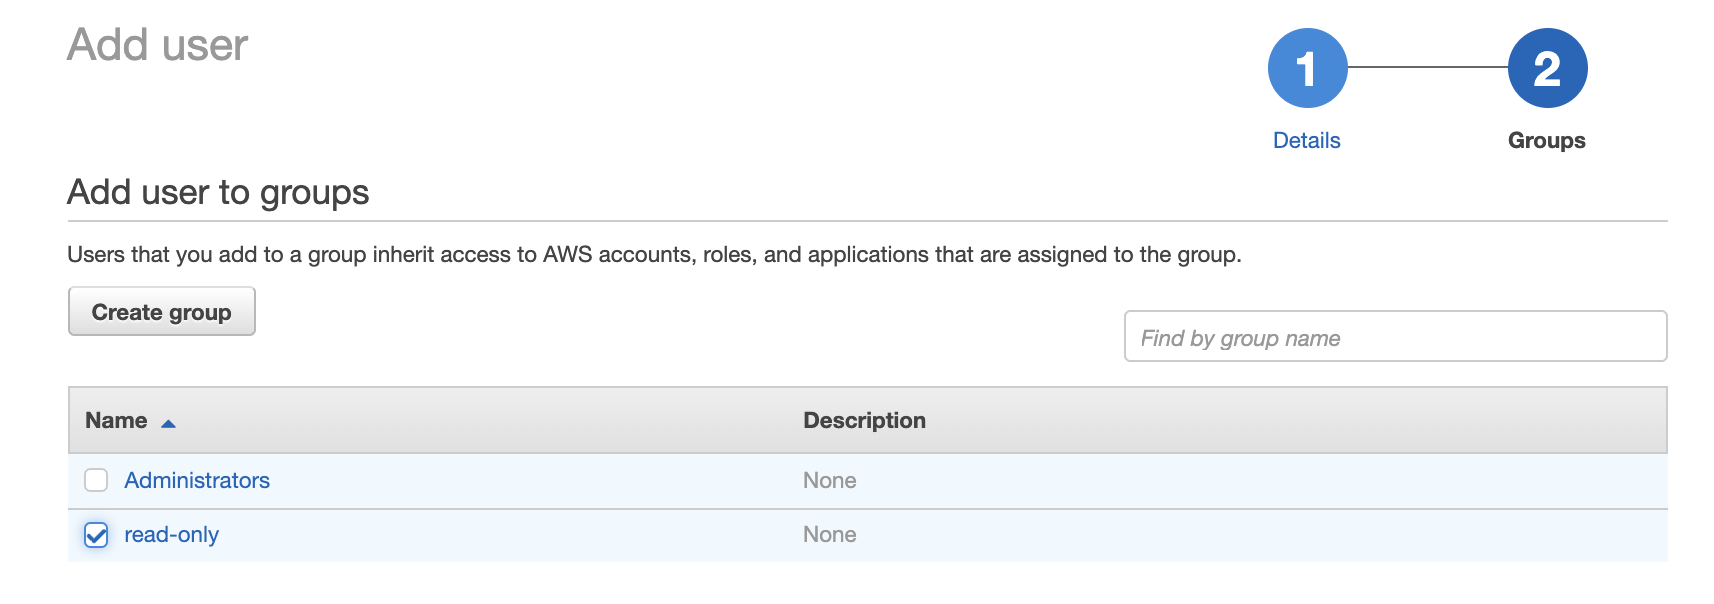
Finally give the user access to a group, we don’t trust Dave that much so let’s give him read-only.
Step 5 - Logon using our test user
Now our test user Dave should be able to access the AWS Console via his Azure identity.
To prove this let’s navigate to the My Apps Portal and login as Dave.
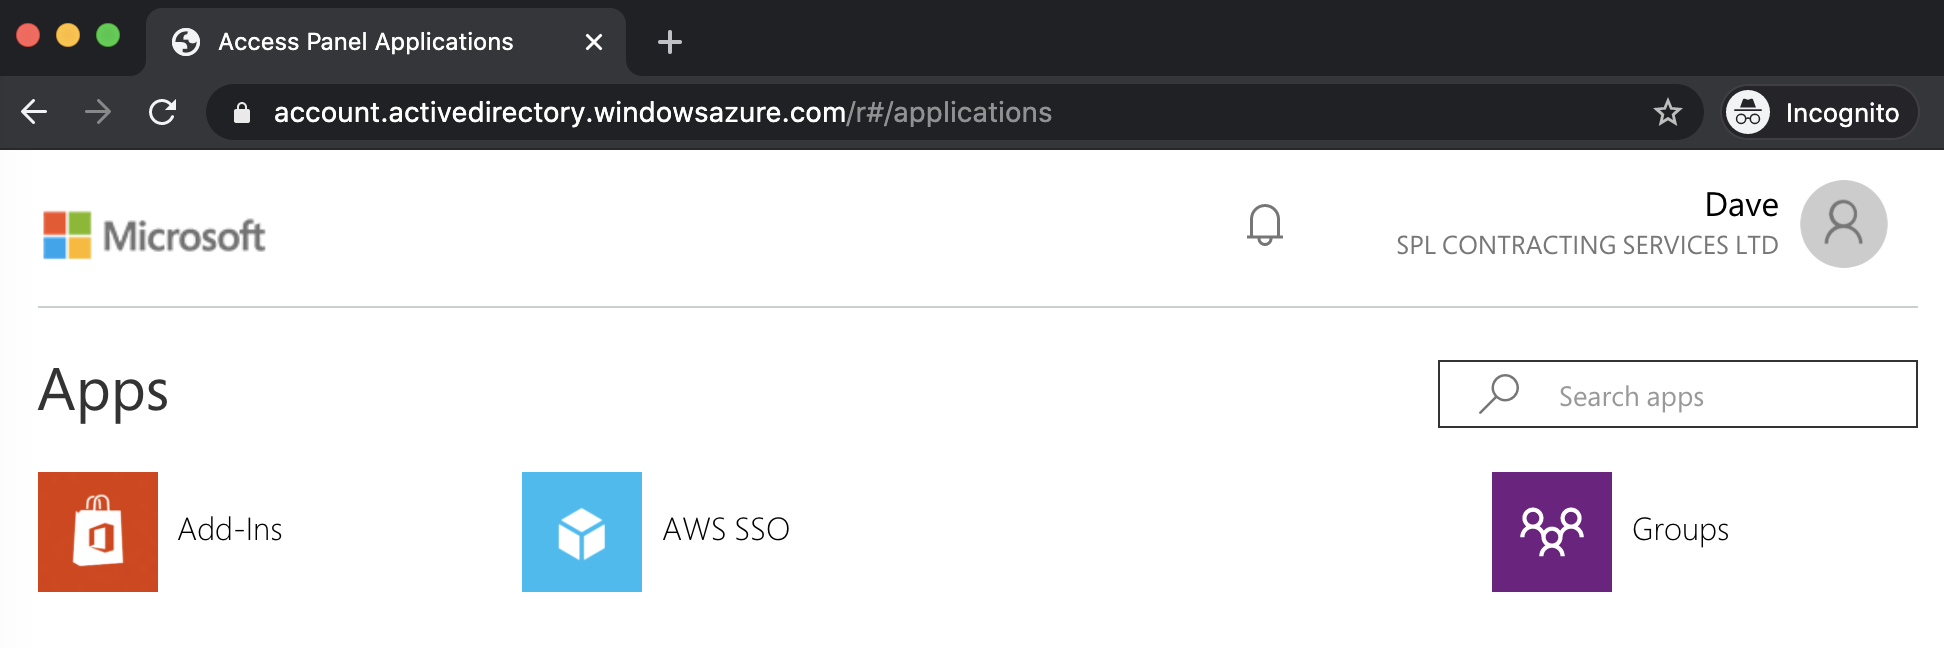
If we select the AWS SSO application that we created earlier, we are given the option to access via the Management console or via Command line / Programmatic access.
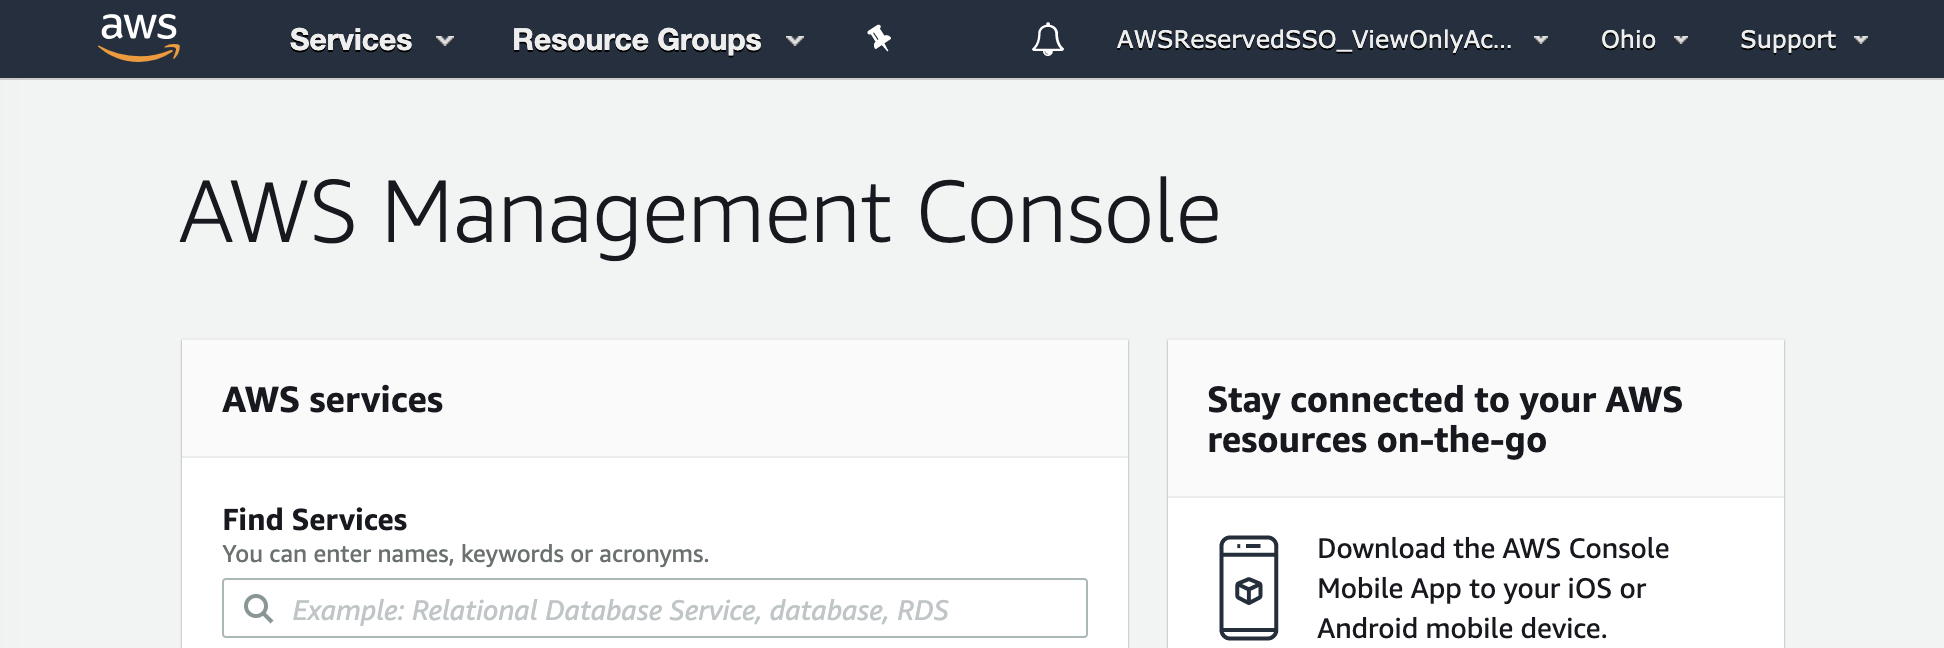
The management console allows Dave access via a read-only role.
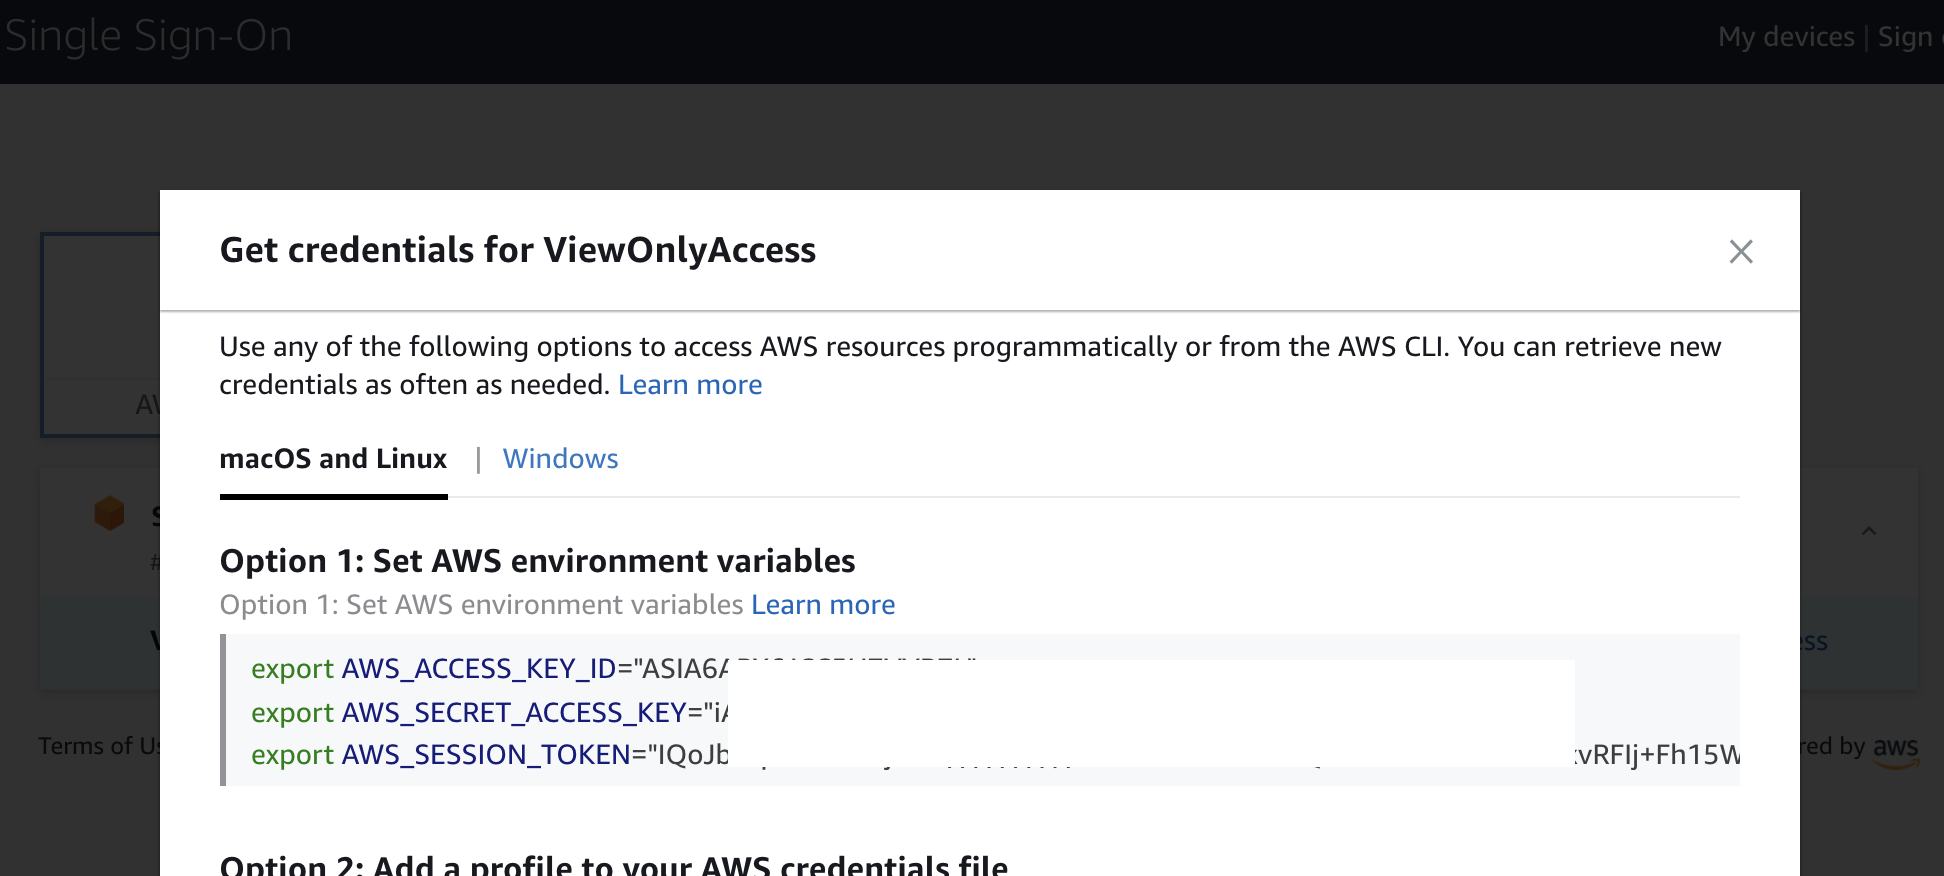
Selecting Command line / Programmatic access gives Dave the necessary access keys to be able to programmatically access AWS via tools such as the AWS CLI.
We could stop here and maintain new users within AWS SSO, which is fine for a small number of users. A better method would be to enable automatic provisioning of user accounts within AWS SSO, so when a new user is created in Azure AD and added to our Enterprise App a corresponding user is created in AWS SSO. This way, when a user is removed from the App in Azure, access will automatically be revoked.
I will look to improve this solution and add automatic user provisioning in the near future. Also, if there is interest, I might look to integrating with GCP.
If you have found this post useful, please upvote below or comment :)